|
This contains information related to scanning booklets, trayliners and coverart for CD albums. To make good quality scans you need the following:
|
|
Good ScannerThere are 2 different types of sensors in scanners, CCD and CIS. The predominate sensor in use is CIS. It is more compact and can be integrated easily into All-In-One printers.
CIS = Contact Image Sensor
CCD = Charge Coupled Device |
|
|
CIS Scanning Element Shallow housing with sensor close to glass 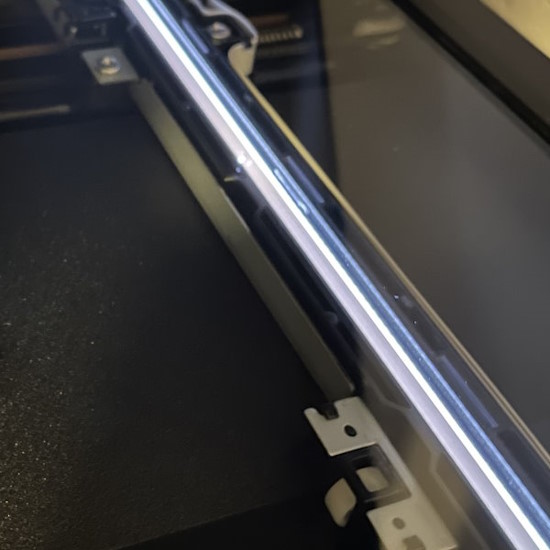
|
CCD Scanning Element Deep housing with sensor that is further back from glass 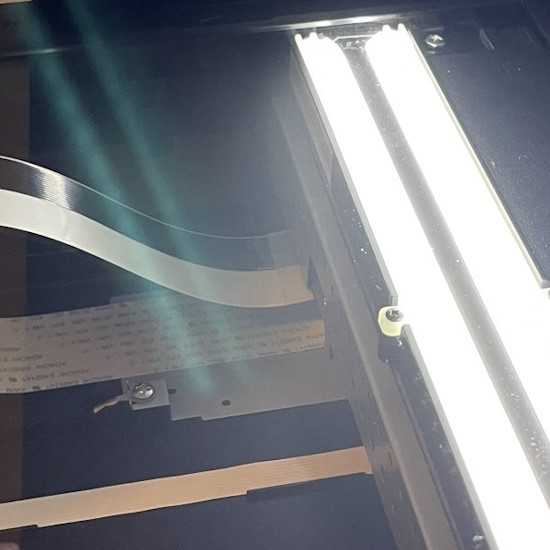
|
CIS scanners are cheaper and more common, but have some significant problems when it comes to dealing with CD booklets.
CIS scanners have a very narrow depth of field, meaning that optimum focus can only occur within a narrow range of a couple millimeters. CCD scanners take up more room, but allow the surface of the media to vary with little impact on image quality. |
|
|
Booklets usually use a printing process called "half tone" that uses closely placed dots to make the illusion of color when viewed from a distance. The problem is that scanners capture the image in such high resolution (higher than intended for normal viewing) that you see the half tones in the image. The half tones can be minimized with algorithms, but in order for those algorithms to work the half tone dots have to be consistent throughout the image. In the image you can see the solid colors are made up of repeating circular patterns. That's the half tones. In order to remove those, they need to be consistent across the entire image. The issue with CIS scanners is that because they have a very limited focus, any slight variation in the media surface will distort half tone patterns. |

|
|
While a CIS scanner can produce good results, it's extra important to make sure the media is flat against the glass. Compared to CIS, a CCD scanner will be far more forgiving to height variation of the media. With CIS it's important to place something with moderate weight on the booklet/trayliner. Weight wise, something like a book or....a hard drive ^_^. Make sure the surface of the weight is flat and pushes evenly across the media. Below are comparison images of a booklet being scanned with a CIS scanner, adding weight to the media, a CCD scanner, and then CCD with weight on the media. Notice the gradual increase in half tone quality as the images progress. |
|
|
CIS Example Booklet With Uneven Surface, using only the scanner lid.
Half tones are very blurry in the middle of the image. 
|
|
|
CIS Example Booklet With Uneven Surface, placing a weight on the booklet.
Half tones much improved, but still a little blurry 
|
|
|
CCD Example Booklet With Uneven Surface, using only the scanner lid.
Half tones are almost completely consistent 
|
|
|
CCD Example Booklet With Uneven Surface, placing a weight on the booklet.
Very little noticeable increase in quality since window of focus height is larger on CCD. 
|
|
|
Here is another example. This one is of the front corner of a booklet.
|
|
|
CIS Example Booklet using only the scanner lid.
Closer to the edge the half tones get blurrier as the corner curls away from glass. 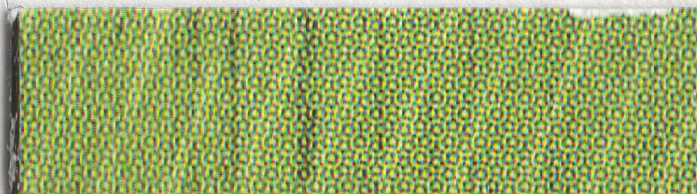
|
|
|
CIS Example Booklet with a weight on top.
Corner is pressed down, so it's in focus, but there is still a blurry area in the middle. 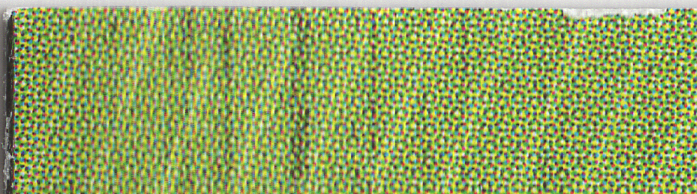
|
|
|
CCD Example Booklet with just the lid closed.
Half tones are uniform throughout. 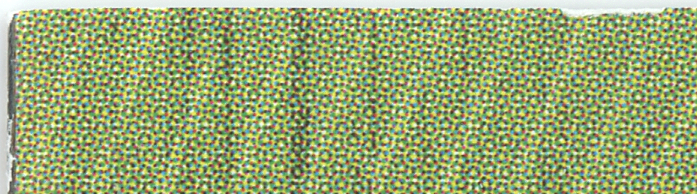
|
|
|
Below is a worst case example, but shows the difference between CIS and CCD. Below is scanning a digipak case with artwork behind the plastic disc spindle. With the CIS scanner, only the parts closest to the glass will be in focus. With the CCD scanner, the entire area is in focus. |
|
|
CIS Scanner 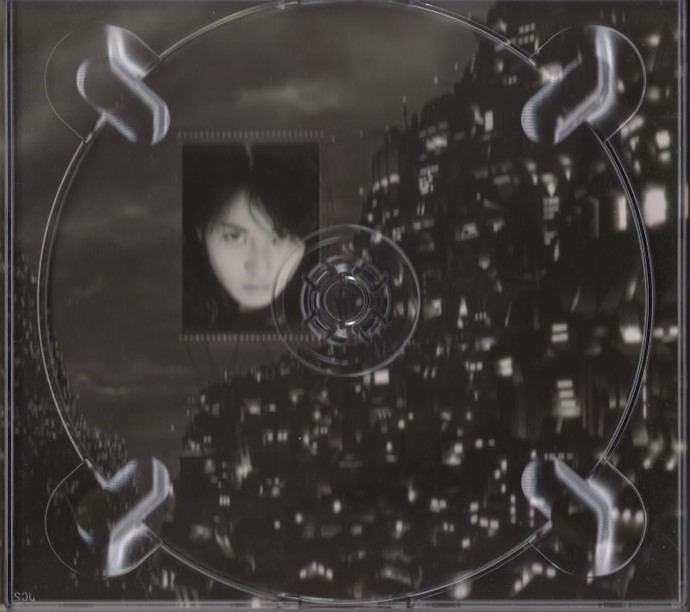
|
|
|
CCD Scanner 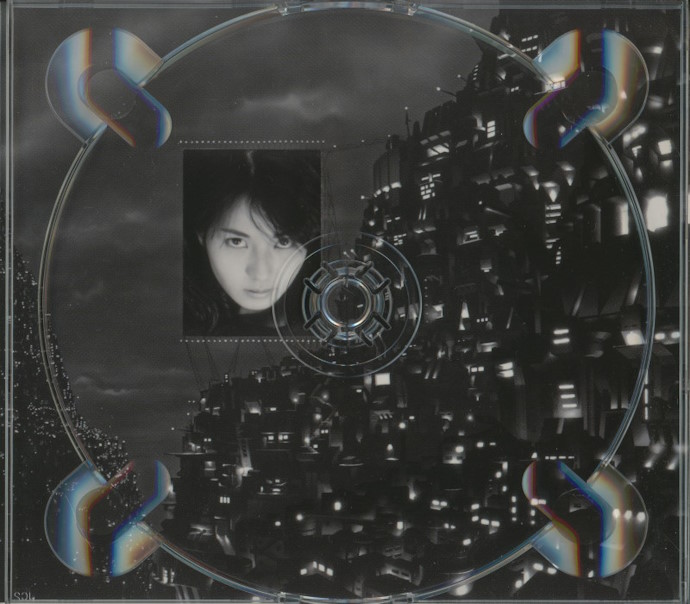
|
|
Recommended CCD Scanner: |
|
|
The Epson V600 is a standalone flatbed scanner. It uses a CCD sensor and has LED backlighting.
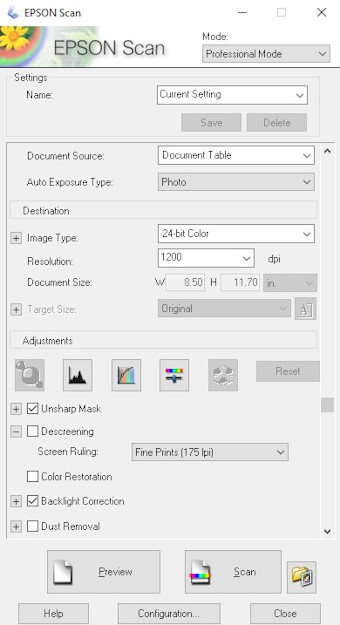
It produces very consistent images, while at a reasonable price. The scanner is also widely available through most electronics distributors (though will probably have to be ordered and not be in stock for same day delivery). It's a standard size scanner bed, 8.5" x 12". Uses standard Epson Scan software, which works in Windows and MacOS (OSX) The MacOS version offers PNG directly as an output. Windows version only offers BMP and TIFF as common lossless file types. So for Windows you will need to save as one of those (at about 400MB per file) and then convert to PNG for distribution. |

|
|
Select 800DPI or 1200DPI. You can use Unsharp, Backlight Correction & Color Correction. Descreen will not work above 600DPI, and there is a separate plugin for Photoshop and Affinity Photo that works much better. 800DPI is plenty good for Sattva Descreen and will take less time to scan and save, and use less disk space than 1200DPI If you plan on scaling your final image down to something below ~3600 pixels, then 1200DPI will offer no advantage over 800DPI |
|
|
Overview of Windows version of Epson Scan.
|
|
|
When you click Scan in the other window, you will get this screen.
You can't select PNG on Windows version. Use TIF or BMP. 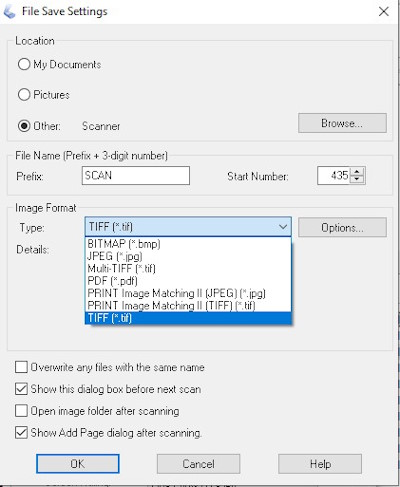
|
|
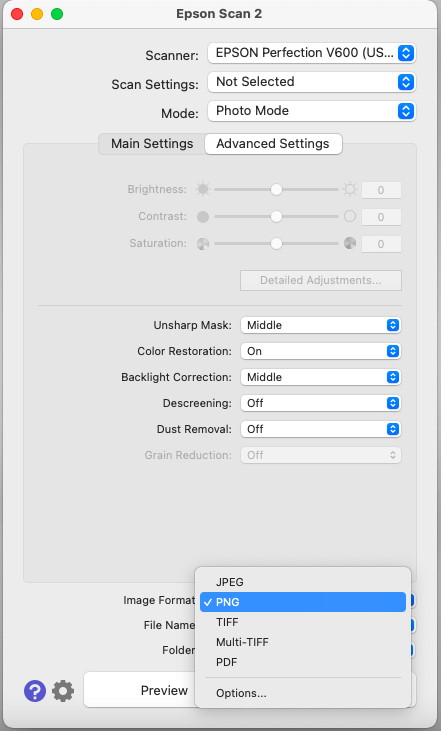
Overview of MacOS version of Epson Scan.
|
|
Media Surface PreperationTo get a good final image, you need to start with a good image. That means making sure the surface planarity (evenness) of the booklet is good and to also remove any dust or fingerprints that may be on the side being scanned. Artwork closer to white will hide dust and fingerprints, while artwork closer to black will amplify them. A mostly solid black being the worst to work with. Fingerprints can be hard to remove once they are on the page, especially on a gloss black surface. The best practice is to prevent fingerprints from getting on the surface.
If fingerprints get on the surface, try wiping them off with a cloth (or your shirt). Be careful not to crease/bend the booklet while pushing the cloth against it. Set it down on a flat surface so you can apply force. You can also use Windex, but use it very lightly as you don't want to cause the paper to ripple from getting wet. Don't scrub too hard when wiping down, as it could remove the print, especially on older booklets. If you can't remove the smudges before scannnig, then you can try removing them in software later. Dust can be removed with a regular cloth or special dust wipe (like a Swiffer dry sheet). In my experience I avoid microfiber cloths as they usually have too much static electricity which causes the page to attract dust. Once the dust has been physically loosened or removed with a cloth, I like to use "canned air" to blow the fine particles off the surface of the booklet. Also be sure to wipe down and blow off the glass surface frequently. The big surface area makes it a target for floating dust particles. To keep the booklet flat against the glass surface, you need to put something with weight on top of it. Do not rely on the scanner lid. The lid keeps out light, and provides a solid white background, but it doesn't put much force on the media |
|
|
Here are some weights. Old hard drive fastened to a CD slim case using double sided foam tape. The drive provides the weight, and the case spreads it out across the entire booklet. I can stack additional weight on top if the booklet needs some extra help. 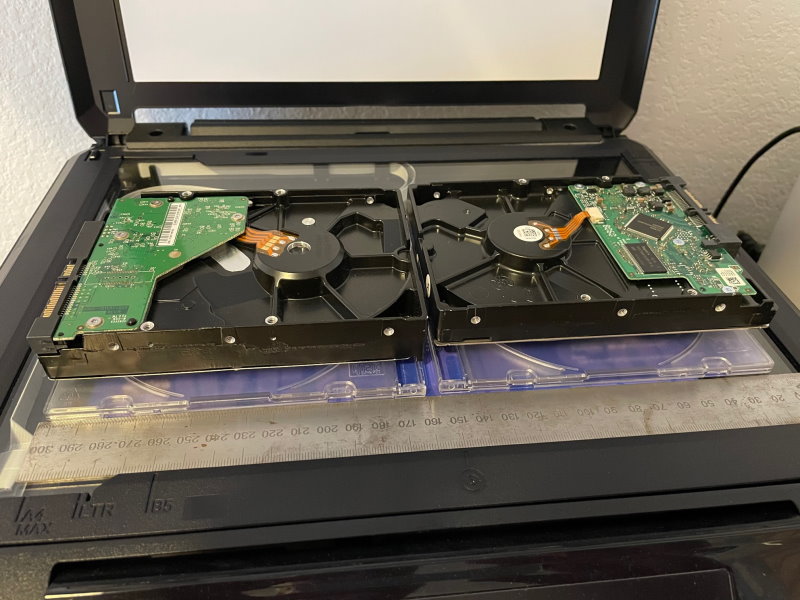 |
|
Comparison Of BackgroundsThis shows the difference in using a light or dark background behind the media. This is a worst case scenario of solid black on the media. On the left is using black cardstock on top of the cover, and the one on the right is white cardstock on top of the cover. You can see a very subtle shift in brightness when using the white background. But barely noticable. I wouldn't worry about it.
This is two raw scans, no color correction or restorations.  |
|
Initial Requirements Of Image Before ProcessingBefore editing the picture in software, make sure it's as good as you can get it.
|
|
Photo Software - Post ProcessingPhotoshop is the most popular photo editing software, but it is expensive. Affinity Photo by Serif offers many of the advanced features of Photoshop but is available for a one time cost of $50, but often goes on sale for 1/2 price. Affinity Photo also has compatibility with Photoshop plugins. Though some functionality of plugins might not work. Sattva Descreen Plugin is very effective at getting rid of half tone patterns while keeping non-half tone areas sharp. It costs €15.00 / $16.50. Additional licenses can be purchased at the same time 50% off. The plugin works on both Windows and MacOS. If you don't want to spend money for the photo software or plugin, I would recommend Paint.NET (on Windows) and use the Gaussian Blur effect. It cleans up the half tones pretty good, but the image will be softer than using the descreen. The half tones will still be slightly visible. |
|
|
Comparison of raw scan / Descreen / Gaussian blur
|
|
|
Raw Scan

|
|
|
Descreen Plugin

|
|
|
Gaussian Blur
While close to the descreen, the image is noticeably softer 
|
|
|
Close Up Of Raw Scan / Descreen / Gaussian Blur
|
|
|
Raw Scan

|
|
|
Descreen Plugin

|
|
|
Gaussian Blur

|
|
Suggestion: File Names For Images! This is purely a suggestion and based on personal preference !
I recommend saving all images at 600DPI, except for the cover image. Average dimensions will be around 5700w x 2800h for double panel booklet. 2800h x 2800w for individual panels. I recommend saving all images as PNG, except for the embedded cover art which should be JPG for maximum compatibility. I create two versions of the cover image. cover.png @ 2000x2000 and then cover.jpg @ 1400x1400. And then embed cover.jpg. |
|
|
Standard Jewel Case cover.png - Is the front of the jewel case (also include cover.jpg) obi.png - The paper sleeve found on the spine of many Japanese albums trayliner.png - Back of the jewel case, will have to remove the hub/spindle from inside the jewel case to get access trayliner inner.png - Backside of the trayliner than can sometimes be seen through a clear hub/spindle. disc.png - If using PNG, it supports alpha (transparency), so you can either leave the outer area a solid color or delete to make it transparent. 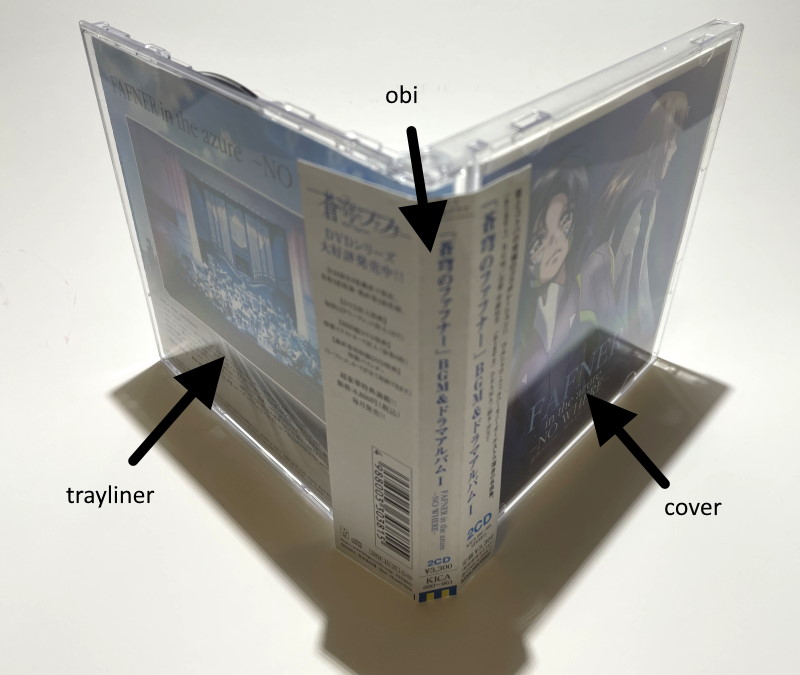 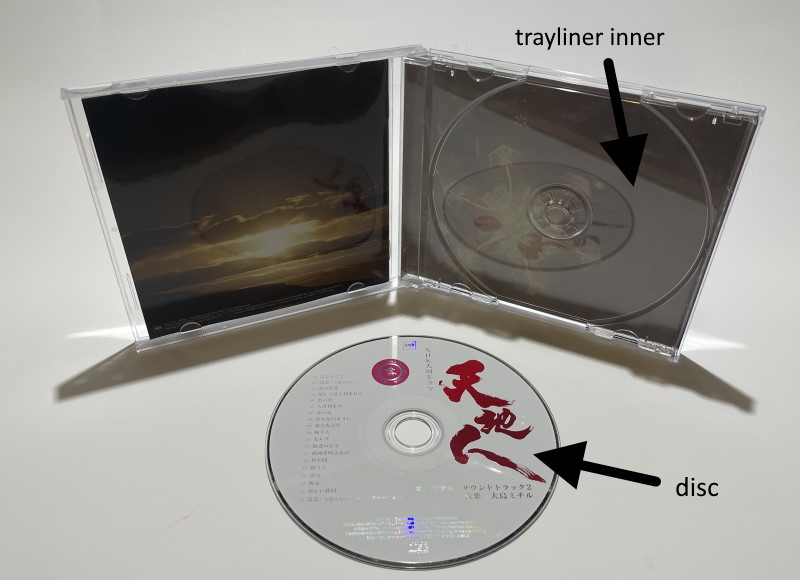 |
|
|
Booklet If unfolding the booklet and laying flat on the scanner. The "00" on front-back is to ensure it sorts correctly in the file system. booklet 00 front-back.png booklet 01-02.png 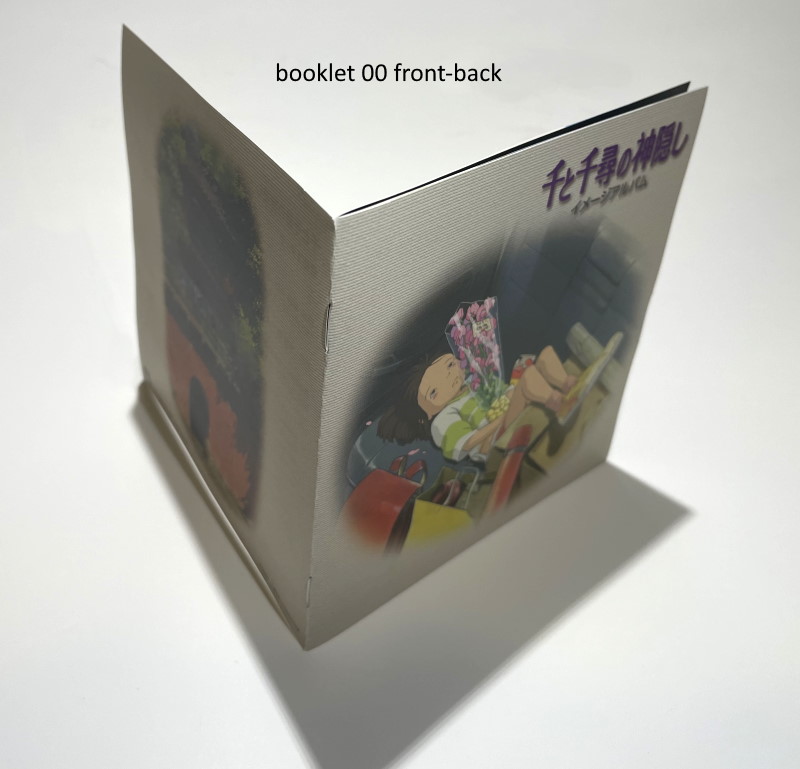 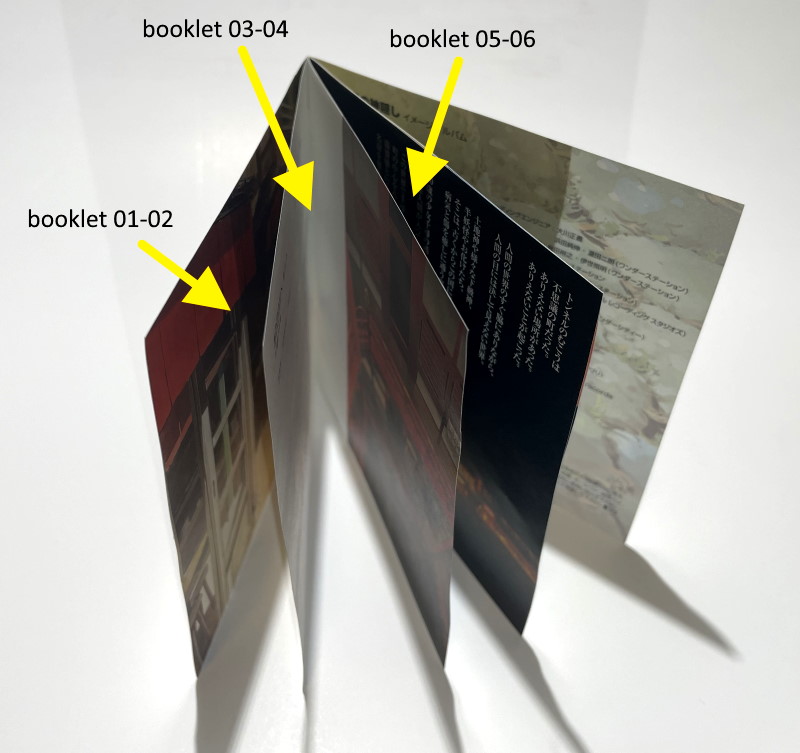 |
|
|
Digipak Digipaks are usually cardboard with a plastic hub inside. Good scanning will require a CCD scanner. digipak front-back.png digipak inner.png 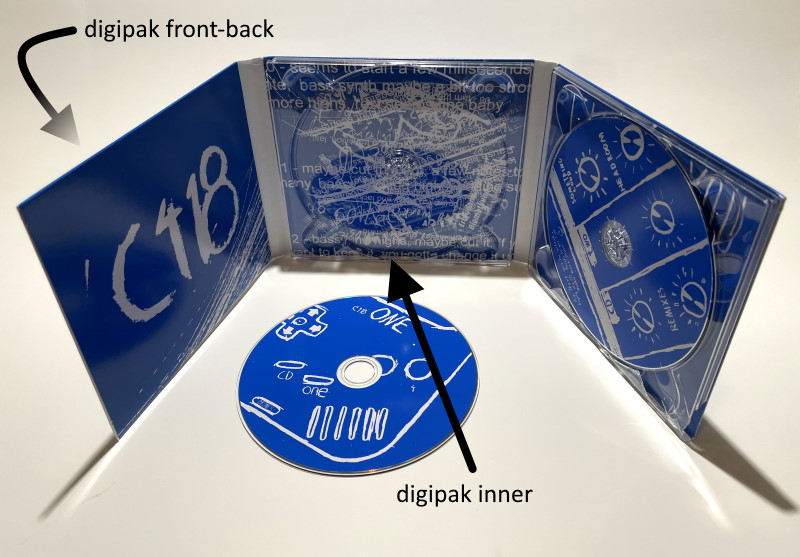 |
|
|
Gatefold Gatefolds are usually all cardboard and the disc slides into a pocket gatefold front-back.png gatefold inner.png 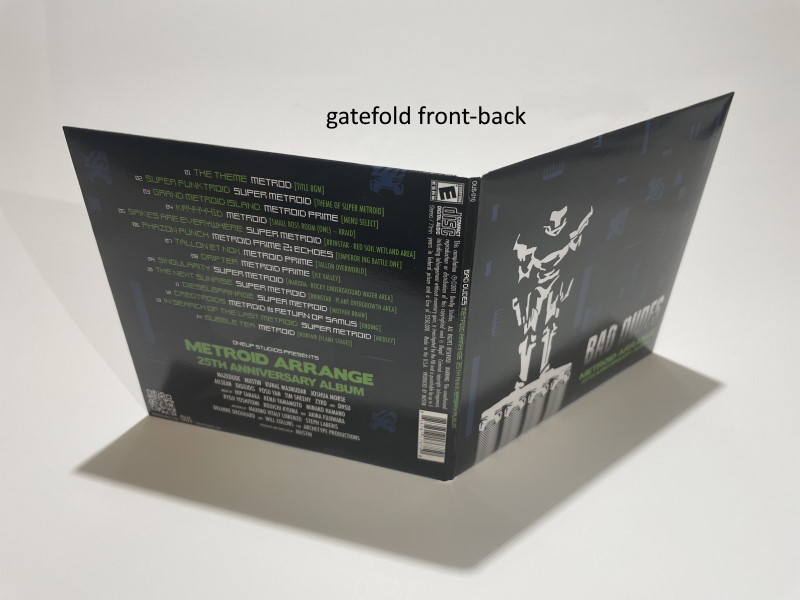 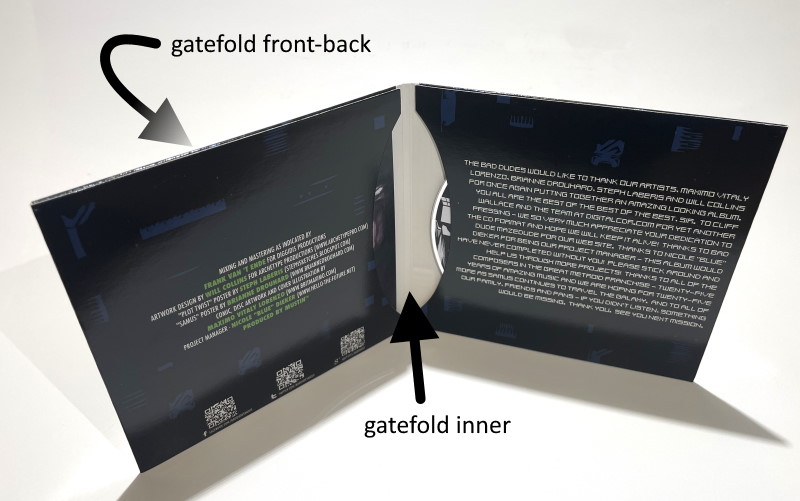 |
|
|
Sleeve Sleeves are usually all cardboard with only a pocket to hold the disc. No fold. sleeve front.png sleeve back.png 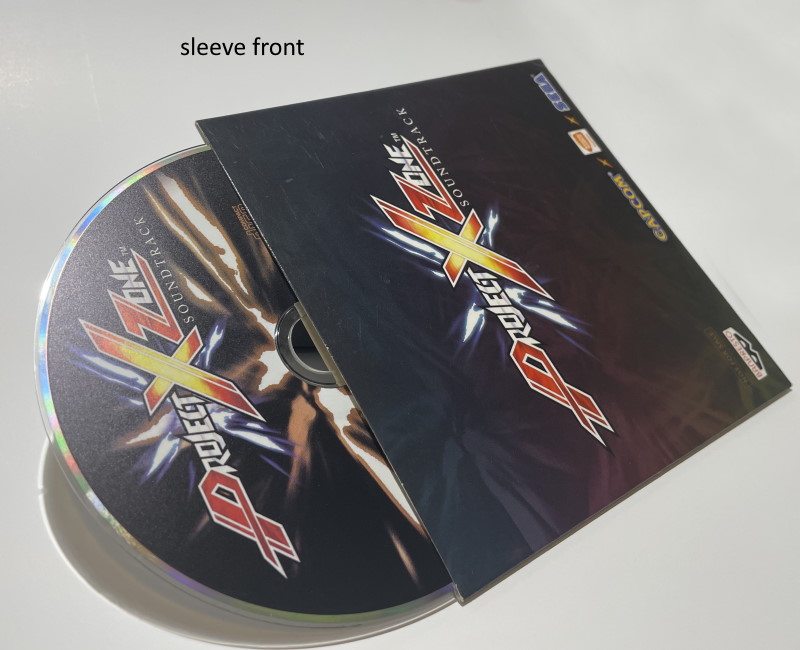 |
|
|
Slipcase Slipcases are usually cardboard or plastic and slide over the jewel case slipcase front.png slipcase back.png slipcase spine.png If you want to scan the edge or the slipcase 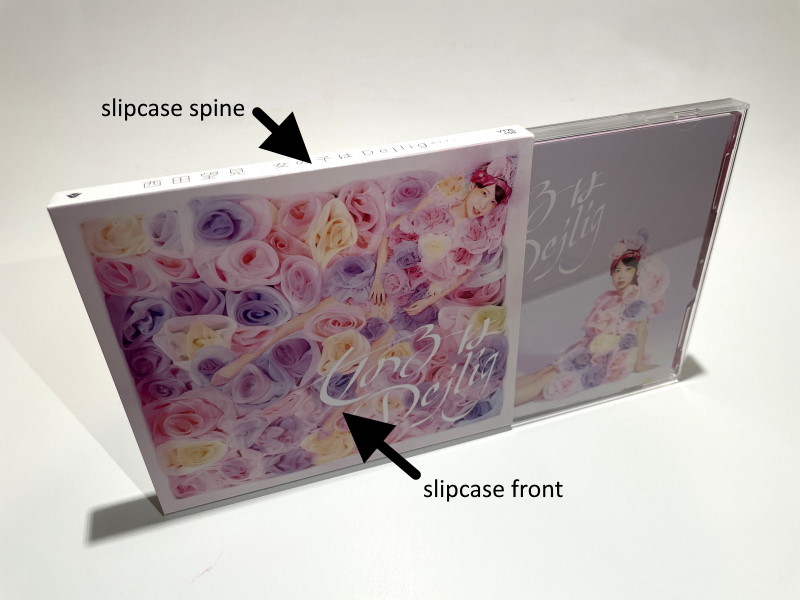 |
|
|
Slipcase Inserts are extra loose items included with an album insert.png sticker.png 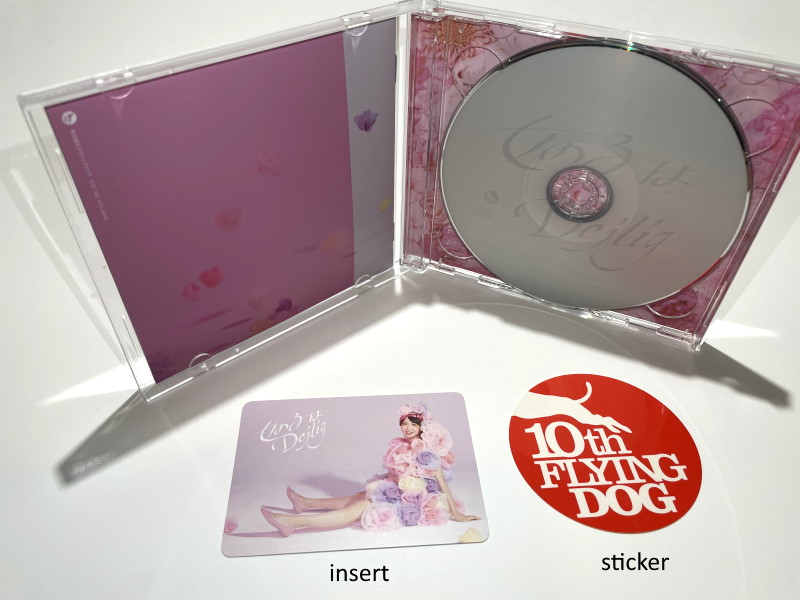 |
|